Crafting Ambiance: A DIY Pole for String Lights to Illuminate Your Outdoors
Transform your outdoor space into a magical haven by crafting a DIY pole for string lights. This guide will walk you through the steps to create a sturdy and stylish pole, adding a warm and enchanting glow to your backyard gatherings.
1.Materials Needed:
- List of materials, including a sturdy pole, concrete mix, metal brackets, screws, and string lights.
2.Choosing the Right Pole:
- Selecting a suitable pole material (e.g., metal or wood) that aligns with your outdoor decor.
- Determining the height of the pole based on the intended lighting coverage.
- Measuring the designated area for the pole installation and marking the spots for digging holes.
- Ensuring precise measurements for a stable and balanced pole.
- Digging two holes for each pole for stability and anchoring.
- Providing guidelines for hole depth and width based on the pole material.
- Placing the pole in the holes and securing it with a concrete mix for stability.
- Checking for levelness and making adjustments during the installation process.
- Affixing metal brackets to the top of the pole for securing the string lights.
- Ensuring the brackets are firmly attached to support the weight of the lights.
- Adding a decorative touch by painting or staining the pole to match your outdoor aesthetics.
- Tips on choosing outdoor-friendly paints or stains for longevity.
- Carefully stringing the lights from one bracket to another, creates a delightful canopy.
- Ensuring even spacing and securing the lights in place.
- Anchoring the bottom of the pole securely to the ground to prevent movement.
- Adding additional stability measures for windy conditions.
- Testing the string lights to ensure they illuminate as desired.
- Make any necessary adjustments to the spacing or tension of the lights.
Creative Ideas for String Light Arrangements
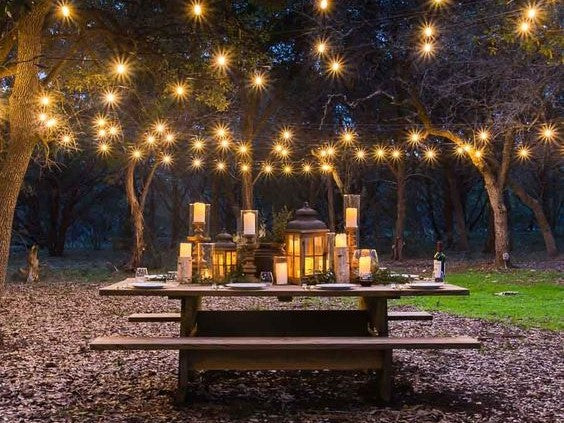
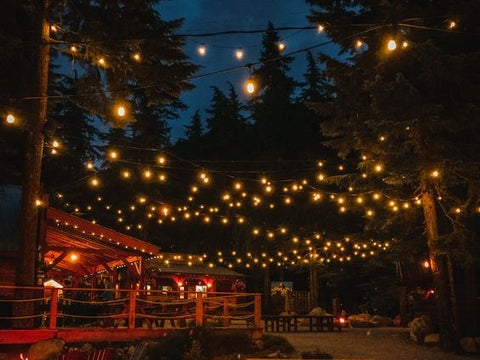
1.Classic Canopy:- Hanging the string lights in a classic canopy style for even coverage.
- Creating a timeless and enchanting ambiance.
- String the lights in a zigzag pattern for a dynamic and playful look.
- Adding a modern twist to your outdoor lighting design.
- Wrapping the string lights around nearby tree trunks for a charming and integrated display.
- Extending the warm glow to surrounding natural elements.
- Spiral-wrapping the string lights around the pole for a whimsical and artistic effect.
- Adding visual interest and a touch of creativity to your outdoor lighting.
- Allowing the string lights to cascade vertically from the top of the pole.
- Creating a waterfall of light that adds a magical touch to your space.
As you conclude your DIY pole project for string lights, envision the warmth and ambiance it will bring to your outdoor space. Craft a pole that not only supports the lights but also enhances the overall aesthetic of your backyard or patio. Illuminate your evenings with the enchanting glow of string lights, turning every outdoor gathering into a magical experience.


