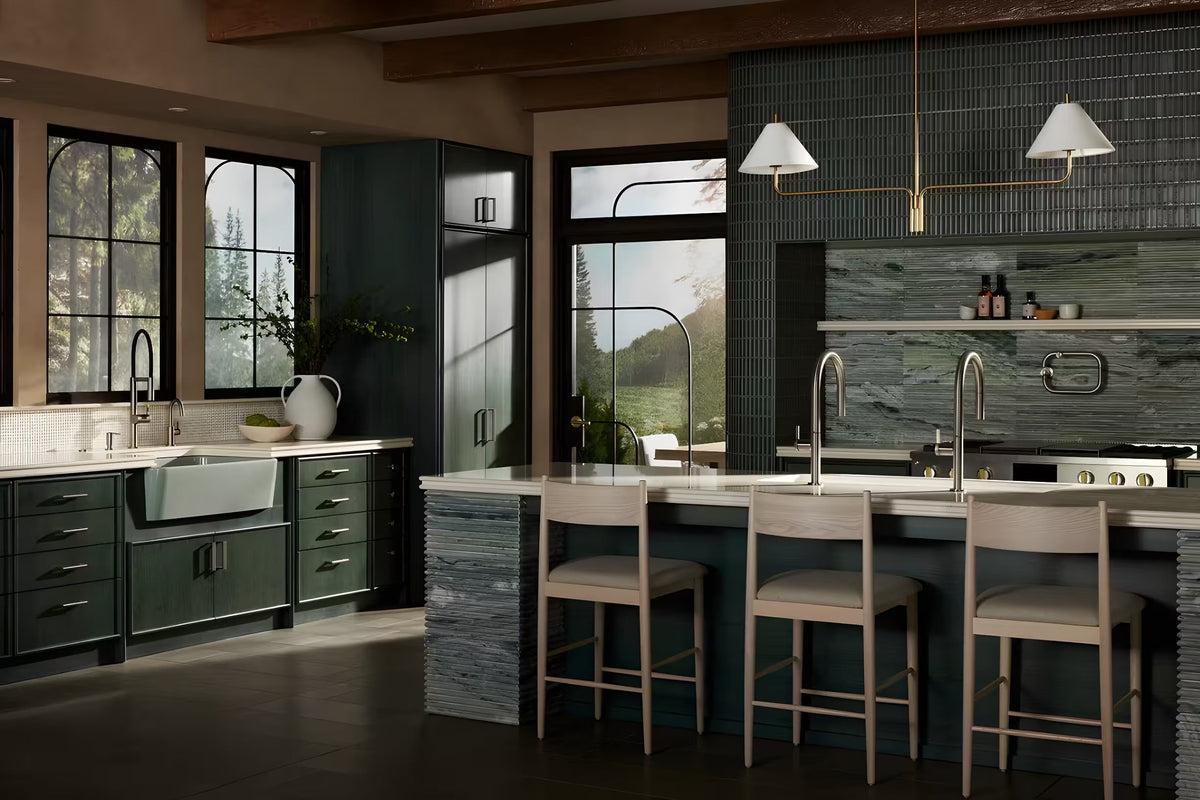
Recessed lighting is a sleek and modern way to brighten up your space while maintaining a clean and uncluttered look. Whether you're renovating your home or adding a touch of sophistication to a specific room, installing recessed lights can significantly enhance the overall ambiance. In this comprehensive guide, we'll walk you through the steps to install recessed lighting, ensuring a seamless and well-lit result.
Step 1: Planning and Layout
Before you start drilling into your ceiling, carefully plan the layout of your recessed lights. Consider the size of the room, the purpose of the lighting, and any architectural features you want to highlight. Measure and mark the locations for each light, ensuring even spacing and alignment.
Step 2: Gather Your Tools and Materials
Make sure you have all the necessary tools and materials before you begin:
- Recessed light fixtures
- Ceiling-cutting template
- Power drill
- Hole saw
- Fish tape
- Voltage tester
- Wire stripper
- Screwdriver
- Wire nuts
- Cable clamps
- Electrical tape
Step 3: Turn Off Power
Safety first! Turn off the power to the circuit where you'll be installing the recessed lights. Confirm that the power is off by using a voltage tester on the wires you'll be working with.
Step 4: Cut Holes for the Lights
Using the ceiling-cutting template, mark the locations for your recessed lights. Attach the template to the ceiling and use a hole saw to cut through the drywall. Be cautious of any electrical wires or plumbing in the ceiling.
Step 5: Run Wiring
Run electrical wiring from the power source to the first recessed light location. Use fish tape to guide the wires through the holes in the ceiling. Secure the wiring with cable clamps to prevent movement.
Step 6: Connect the Lights
Connect the wires from the recessed light fixtures to the electrical wiring. Match the black wires, white wires, and ground wires using wire nuts. Follow the manufacturer's instructions for your specific fixtures.
Step 7: Secure the Lights
Attach the recessed light fixtures to the ceiling by following the manufacturer's guidelines. Typically, these fixtures have clips that secure them in place.
Step 8: Test the Lights
Before fully securing the fixtures, turn the power back on and test the lights. Ensure all bulbs are working and the illumination is as expected. If there are any issues, revisit the wiring connections.
Step 9: Install Trim and Bulbs
Once you've confirmed that all lights are functioning correctly, install the trim on each fixture. Choose trims that complement your decor and enhance the overall aesthetic. Screw in the appropriate light bulbs, making sure they match the fixture's specifications.
Step 10: Final Adjustments
Make any final adjustments to the positioning of the lights and ensure they provide the desired illumination. Secure the fixtures in place, and you're done!
Installing recessed lighting can be a rewarding DIY project that transforms the look and feel of your space. By carefully planning, using the right tools, and following these steps, you can achieve a professional-looking result. Illuminate your home with elegance and enjoy the enhanced atmosphere created by recessed lighting.

