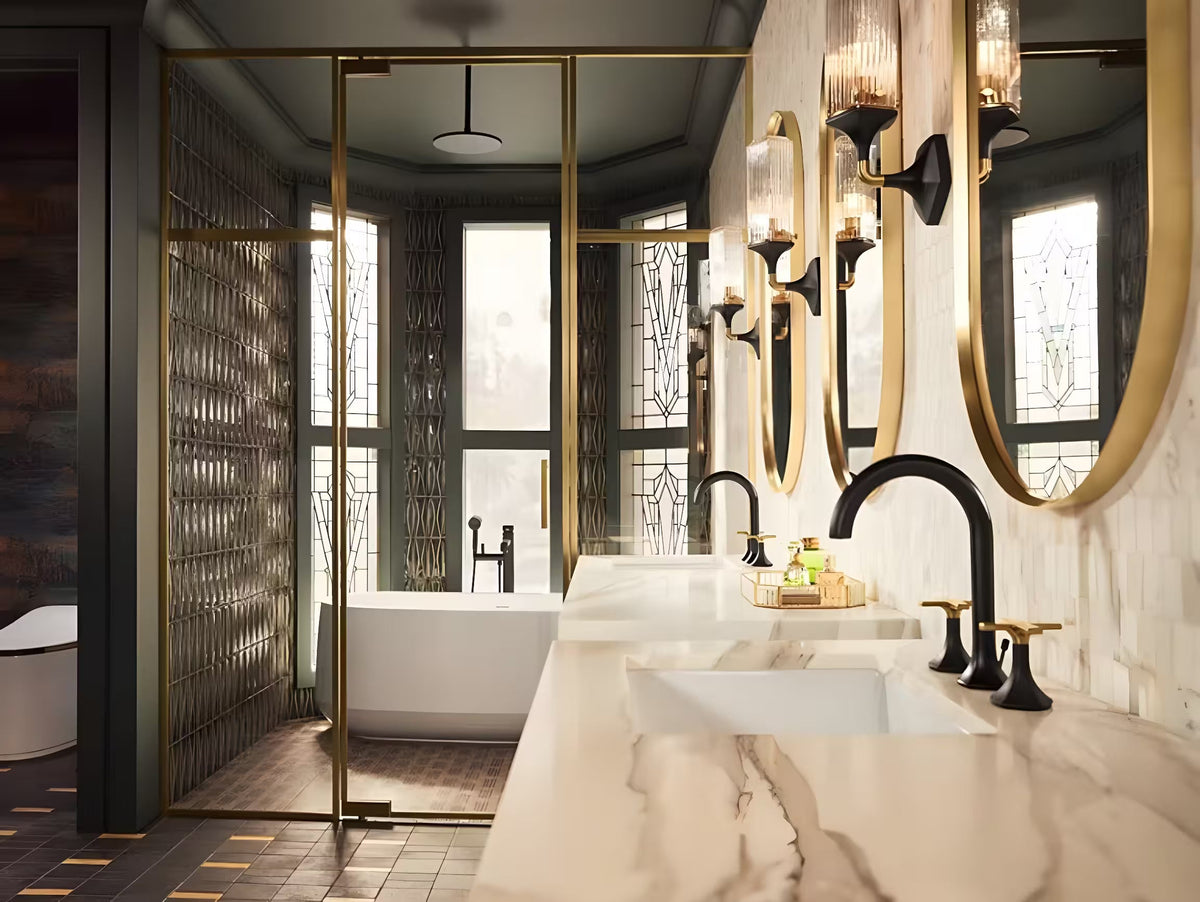
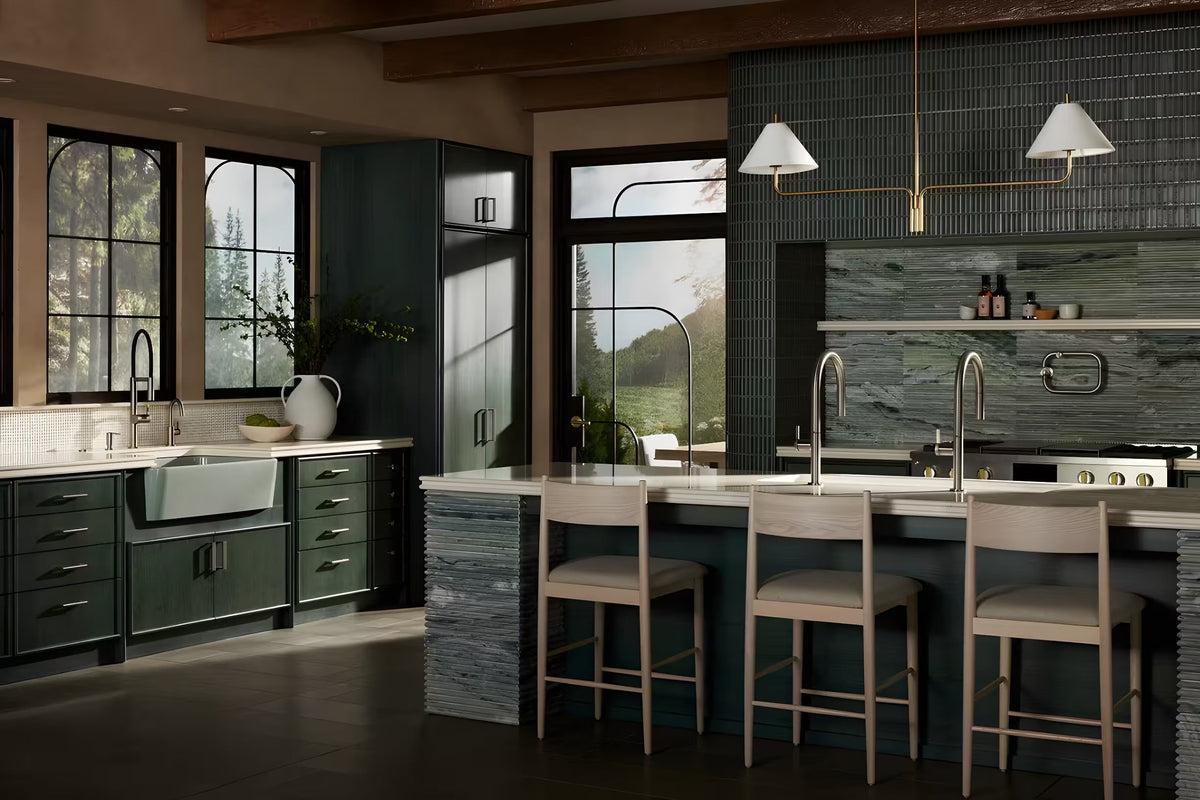
Recessed lighting, also known as can lights or downlights, is a popular choice for homeowners looking to add a modern, streamlined look to their living spaces. These lights are installed directly into the ceiling, providing a sleek, unobtrusive lighting solution that can enhance the ambiance and functionality of any room. This guide will walk you through the process of installing recessed lighting, from planning and preparation to the final installation.

Why Choose Recessed Lighting?
1. Space-Saving Design
Recessed lighting is perfect for rooms with low ceilings or areas where you want to maintain a clean, uncluttered look.
2. Versatile Illumination
Whether you need general lighting, task lighting, or accent lighting, recessed lights can be positioned and angled to meet your specific needs.
3. Energy Efficiency
Modern LED recessed lights are energy-efficient, providing bright illumination while reducing your electricity bills.
4. Enhanced Aesthetics
Recessed lighting adds a touch of elegance and modernity to any room, creating a warm and inviting atmosphere.

Planning Your Recessed Lighting Layout
1. Determine the Purpose of the Lighting
Before you start, decide the purpose of the recessed lights. Are they for general lighting, highlighting a specific area, or creating a particular ambiance?
2. Measure and Mark the Ceiling
Use a tape measure to determine the placement of the lights. Mark the spots on the ceiling where you plan to install the fixtures, ensuring they are evenly spaced.
3. Consider the Ceiling Type
Check if your ceiling is insulated or has joists that might interfere with the installation. This will determine the type of housing you need.
4. Choose the Right Type of Recessed Lights
Select the appropriate type of recessed lighting for your needs, such as LED, IC-rated (for insulated ceilings), or non-IC-rated.
5. Gather Necessary Tools and Materials
Ensure you have all the tools and materials needed for installation, including the recessed light kit, a drill, a hole saw, electrical wire, and wire connectors.

Step-by-Step Guide to Installing Recessed Lighting
1. Turn Off the Power
Before starting any electrical work, turn off the power to the room where you will be installing the lights. Use a voltage tester to ensure the power is off.
2. Cut the Holes in the Ceiling
Using a hole saw, cut out the marked spots on the ceiling. Be careful to avoid any electrical wires or joists.
3. Run the Electrical Wire
Run the electrical wire from the power source to each of the holes where you will be installing the lights. You may need to fish the wire through the ceiling.
4. Install the Recessed Light Housing
Insert the housing into the hole and secure it in place according to the manufacturer’s instructions. If you're installing IC-rated lights in an insulated ceiling, ensure the housing is properly sealed to prevent air leakage.
5. Connect the Wiring
Connect the electrical wires from the power source to the recessed light fixture using wire connectors. Follow the wiring diagram provided with your light kit.
6. Install the Light Bulb and Trim
Once the wiring is connected, insert the light bulb into the fixture. Attach the trim to the housing, which will give the light a finished look.
7. Test the Lights
After completing the installation, turn the power back on and test the lights to ensure they are functioning properly.

Types of Recessed Lighting
1. LED Recessed Lights
These lights are energy-efficient, long-lasting, and available in various color temperatures, making them ideal for any room.
2. Retrofit Recessed Lights
Perfect for updating existing lighting, retrofit kits allow you to replace old fixtures with new, energy-efficient models without major ceiling work.
3. Adjustable Recessed Lights
These lights can be angled to highlight specific areas or objects, making them ideal for accent lighting.
4. Shower and Wet Area Recessed Lights
Designed for use in bathrooms and outdoor areas, these lights are moisture-resistant and safe for wet environments.

Safety Tips for Installing Recessed Lighting
1. Always Turn Off the Power
Never attempt to install recessed lighting without first turning off the power to the room.
2. Use IC-Rated Housing for Insulated Ceilings
If your ceiling is insulated, use IC-rated housing to prevent overheating and potential fire hazards.
3. Ensure Proper Ventilation
Make sure the recessed light housing is adequately ventilated to prevent heat buildup, especially when using halogen or incandescent bulbs.
4. Avoid Overloading the Circuit
Check the electrical load on the circuit to ensure you're not exceeding its capacity, which could lead to tripped breakers or electrical fires.

Creative Ideas for Using Recessed Lighting
1. Highlighting Artwork
Use adjustable recessed lights to focus attention on artwork, creating a gallery-like atmosphere in your home.
2. Creating Ambient Lighting
Install dimmable recessed lights to create a soft, ambient glow in living rooms or bedrooms.
3. Illuminating Hallways
Recessed lights in hallways provide functional lighting while maintaining a clean, unobtrusive look.
4. Task Lighting in Kitchens
Install recessed lights above countertops and work areas in the kitchen for focused task lighting.
5. Outdoor Recessed Lighting
Use weatherproof recessed lights to illuminate outdoor areas such as patios, decks, or entryways.

Common Mistakes to Avoid When Installing Recessed Lighting
1. Overloading the Circuit
Installing too many lights on a single circuit can overload it, causing breakers to trip or creating a fire hazard.
2. Incorrect Spacing
Placing lights too close together or too far apart can lead to uneven lighting. Follow the manufacturer’s guidelines for proper spacing.
3. Not Using a Template for Cutting Holes
Cutting the holes without a template can result in uneven or misaligned lights. Always use a template for accuracy.
4. Ignoring Insulation Requirements
Failure to use IC-rated housing in insulated ceilings can lead to overheating and pose a fire risk.

Brighten Your Home with Recessed Lighting
Installing recessed lighting is an excellent way to update your home’s lighting, offering a sleek, modern look that can enhance any room. With careful planning and attention to detail, you can successfully install recessed lights yourself, adding value and beauty to your space.

FAQs
Q1: Can I install recessed lighting in a drop ceiling?
A1: Yes, recessed lighting can be installed in a drop ceiling using specially designed fixtures and brackets.
Q2: How far apart should recessed lights be placed?
A2: A general rule of thumb is to space the lights about 4-6 feet apart, depending on the size of the room and the lighting needs.
Q3: What type of bulb is best for recessed lighting?
A3: LED bulbs are recommended for recessed lighting due to their energy efficiency, long lifespan, and low heat output.
Q4: Can recessed lighting be dimmed?
A4: Yes, many recessed lighting fixtures are compatible with dimmer switches, allowing you to adjust the brightness as needed.
Q5: Do I need a permit to install recessed lighting?
A5: Depending on your location and the scope of the project, you may need a permit. Check with your local building department for regulations.

