
Illuminate Your Space with Cabinet Lighting: A Comprehensive Guide
Cabinet lighting is an essential feature that enhances both the functionality and aesthetics of your kitchen, bathroom, or any other cabinetry in your home. By providing focused illumination, it makes daily tasks easier and adds a sophisticated touch to your interior design. This comprehensive guide will explore the benefits of cabinet lighting, the types of lighting available, tips for selecting the right lights, detailed installation instructions, and maintenance practices to ensure your cabinet lighting remains effective and attractive.

Benefits of Cabinet Lighting
1. Improved Visibility
Cabinet lighting illuminates the interior and workspace around cabinets, making it easier to find items and perform tasks such as cooking, reading labels, and organizing.
2. Enhanced Aesthetics
Well-placed cabinet lights highlight the beauty of your cabinetry and countertops, creating a visually appealing and inviting atmosphere.
3. Increased Home Value
High-quality cabinet lighting can boost the appeal and value of your home, making it more attractive to potential buyers.
4. Energy Efficiency
Modern cabinet lighting options, especially LEDs, are highly energy-efficient, consuming less power and reducing your electricity bills.
5. Versatile Lighting Solutions
Cabinet lighting comes in various styles, colors, and brightness levels, allowing you to customize your lighting to suit your preferences and needs.

Types of Cabinet Lighting
1. LED Strip Lights
LED strip lights are flexible and can be cut to fit any cabinet length. They provide continuous, even lighting and are available in various colors and brightness levels.
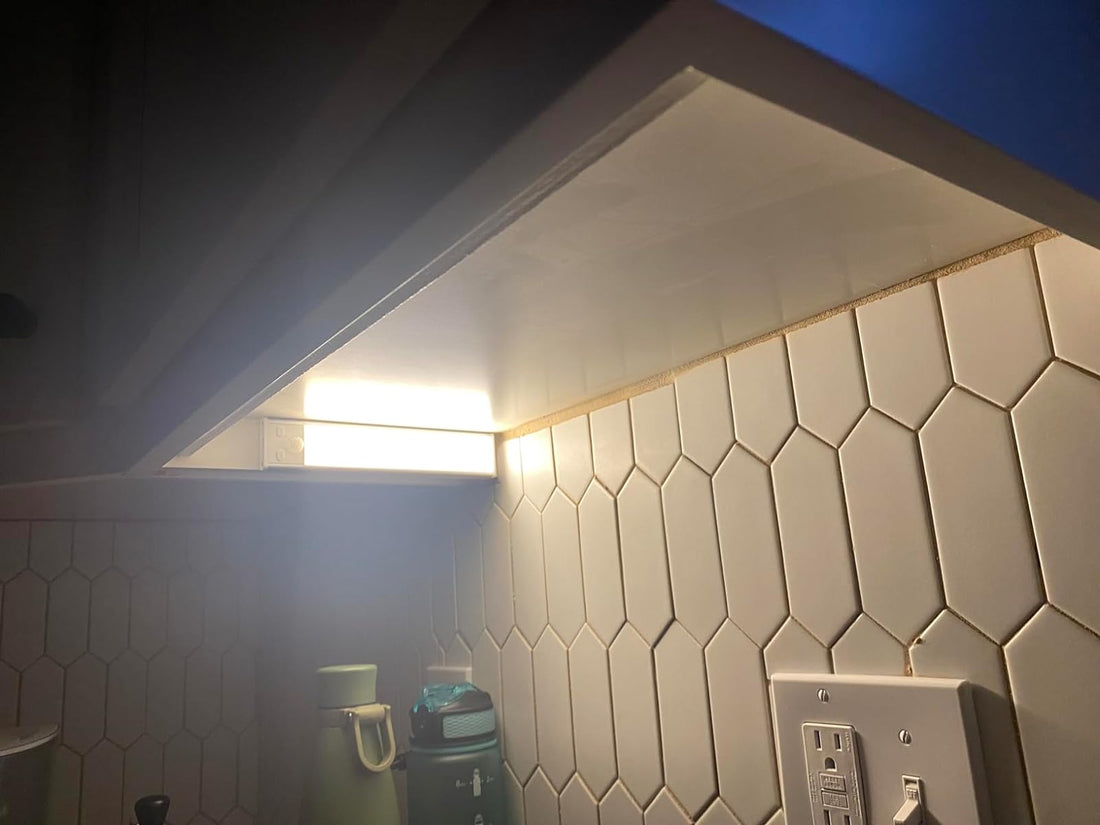
2. Puck Lights
Puck lights are small, round fixtures that offer focused lighting. They are ideal for highlighting specific areas within cabinets and come in both battery-operated and plug-in versions.
3. Bar Lights
Bar lights are long, slim fixtures that provide even lighting across a wide area. They are typically installed under or inside cabinets and are ideal for larger spaces.
4. Rope Lights
Rope lights are encased in a flexible tube, making them easy to install and bend around corners. They provide a soft, ambient glow and are often used for decorative purposes.
5. Fluorescent Lights
Fluorescent lights offer bright, even illumination and are more energy-efficient than traditional incandescent bulbs. However, they are less efficient than LEDs and can produce a cooler light.
6. Xenon Lights
Xenon lights produce a warm, white light similar to incandescent bulbs but are more energy-efficient. They are also dimmable, allowing you to adjust the brightness to suit your needs.

Tips for Choosing Cabinet Lighting
1. Consider Color Temperature
Choose a color temperature that matches your space’s ambiance. Warm white (2700K-3000K) creates a cozy atmosphere, while cool white (3500K-5000K) offers a more modern and bright look.
2. Determine Brightness Level
Consider the level of brightness you need for your tasks. For task lighting, a higher lumen output is preferable.
3. Ease of Installation
Select a lighting option that is easy to install, especially if you plan to do it yourself. Adhesive-backed LED strips and plug-in puck lights are user-friendly options.
4. Dimming Capabilities
Choose lights with dimming capabilities to adjust the brightness according to your needs and create different moods.
5. Energy Efficiency
Opt for LED lights to save on energy costs and reduce environmental impact.

Installation Guide for Cabinet Lighting
Tools and Materials Needed:
- Cabinet lights of your choice
- Measuring tape
- Pencil
- Screwdriver
- Double-sided tape or mounting hardware
- Power drill (if needed)
- Wire connectors (for hardwired installations)
- Power supply (battery, plug-in, or hardwired)

Steps:
- Measure and Plan: Measure the length of the cabinets and plan the placement of the lights. Mark the positions with a pencil.
- Prepare the Surface: Clean the surface where the lights will be installed to ensure they adhere properly.
-
Mount the Lights:
- For LED strips: Peel off the adhesive backing and stick the strips along the marked positions.
- For puck lights: Attach the mounting hardware using screws or adhesive pads and snap the lights into place.
- For bar lights: Mount the fixtures using screws or brackets.
-
Connect the Power:
- Plug-in: Plug the lights into an electrical outlet.
- Battery-operated: Insert batteries and ensure the lights are functioning.
- Hardwired: If you’re comfortable with electrical work, connect the lights to the existing electrical wiring using wire connectors. Otherwise, hire a professional electrician for installation.
- Test the Lights: Turn on the lights to ensure they are working correctly and adjust the positioning if needed.
- Conceal Wires: Use wire clips or adhesive cable holders to neatly tuck away any visible wires.

Maintenance Tips for Cabinet Lighting
1. Regular Cleaning
Dust and grease can accumulate on the lights, reducing their brightness. Clean the fixtures regularly with a damp cloth and mild detergent.
2. Check Connections
Periodically check the electrical connections and battery levels (if applicable) to ensure the lights are functioning correctly.
3. Replace Bulbs
For non-LED lights, replace burnt-out bulbs promptly to maintain consistent lighting.
4. Inspect for Damage
Regularly inspect the lights and wiring for any signs of wear or damage and repair or replace them as necessary.

Cabinet lighting is a fantastic addition to any space, offering both practical benefits and aesthetic appeal. By choosing the right type of lighting, following proper installation steps, and maintaining the lights, you can enjoy a beautifully illuminated space that enhances your daily activities and adds value to your home. Whether you opt for LED strips, puck lights, or another style, cabinet lighting will brighten your space and make it more functional and attractive.