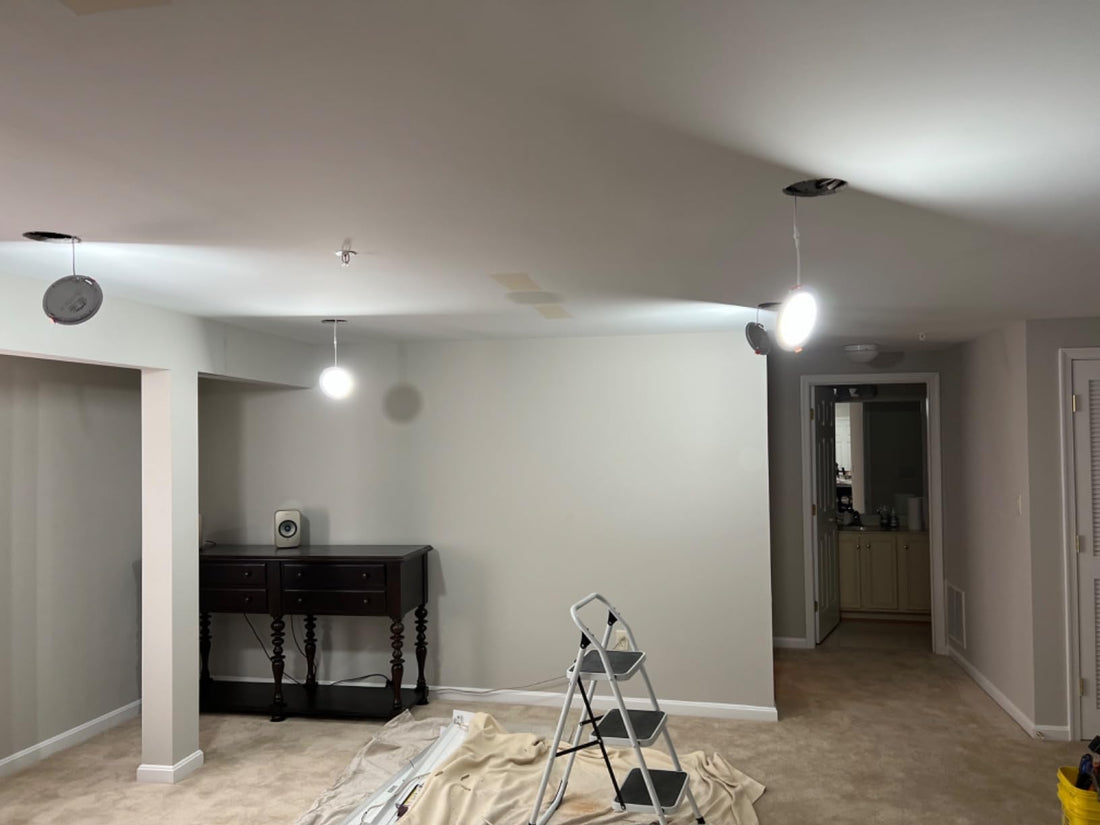
Mastering Brilliance: A Comprehensive Guide to Advanced Recessed Lights Installation
Embarking on the installation of advanced recessed lights marks a journey toward precision lighting and modern elegance. In this comprehensive guide, we unveil the intricacies of installing advanced recessed lights, providing expert tips, cutting-edge techniques, and insights into the latest innovations. Whether you're a seasoned DIY enthusiast or seeking professional guidance, this guide is your key to mastering the art of advanced recessed lights installation.
1. Strategic Planning for Optimal Illumination
Before diving into the installation process, strategic planning is paramount. Consider the purpose of each lighting zone – whether it's task lighting in the kitchen, ambient lighting in the living room, or accent lighting in a hallway. Map out the placement of recessed lights to achieve balanced and optimal illumination throughout the space.
Take into account the room's dimensions, furniture layout, and any architectural features that you want to highlight. This meticulous planning ensures that your advanced recessed lights not only meet functional needs but also enhance the aesthetic appeal of the space.
2. Selection of Advanced Features and Technology
As technology continues to advance, so do the features available in advanced recessed lights. Consider the specific functionalities you desire for your space. Are you interested in tunable white light for dynamic ambiance? Or perhaps smart technology integration for remote control and automation?
Choose fixtures with the features that align with your preferences and the needs of the space. This could include adjustable designs for versatile lighting, energy-efficient LED technology, or even compatibility with home automation systems for seamless integration into a smart home ecosystem.
3. Electrical Considerations and Safety Precautions
Before commencing the installation, ensure that you adhere to all electrical considerations and safety precautions. If you're not confident in handling electrical work, it's advisable to consult a professional electrician. Confirm that your electrical system can support the additional load of the new recessed lights, and check local building codes for compliance.
Turn off power to the circuit where you'll be working, and use a voltage tester to confirm that the power is indeed off before starting any installation. Safety should be the top priority throughout the process.
4. Cutout and Wiring Installation
The next step involves creating cutouts for the recessed lights in the ceiling. Measure and mark the locations based on your strategic planning. Use a hole saw or a template provided by the fixture manufacturer to make precise cutouts.
Once the cutouts are ready, proceed with the wiring installation. Run the electrical wires to each fixture location, ensuring that you follow the manufacturer's guidelines for wiring specifications. Secure the wiring in place to prevent any interference during the installation of the recessed lights.
5. Fixture Installation with Precision
With the cutouts and wiring in place, it's time to install the recessed lights. Many advanced fixtures come with tool-less designs or integrated clips, simplifying the installation process. Ensure that the fixtures are securely fastened and flush with the ceiling.
If your fixtures have adjustable features, take the time to set the desired angles for optimal lighting. Double-check the alignment and spacing to achieve a cohesive and evenly illuminated look.
6. Testing and Fine-Tuning
Before completing the installation, conduct a thorough testing phase. Turn on the power and ensure that each recessed light functions as intended. Check for any flickering, uneven lighting, or issues with the adjustable features.
Fine-tune the positioning and angles if necessary. This attention to detail during the testing phase ensures that your advanced recessed lights provide consistent and high-quality illumination.
7. Integration with Smart Home Systems (Optional)
For those incorporating smart home technology, this step involves integrating the recessed lights with your chosen home automation system. Follow the manufacturer's instructions for connecting the fixtures to the smart home ecosystem, whether it's through Wi-Fi, Bluetooth, or other connectivity options.
Set up any desired automation routines or controls, allowing you to manage your advanced recessed lights remotely or through voice commands.
8. Regular Maintenance and Upkeep
Once your advanced recessed lights are installed and functioning flawlessly, it's essential to establish a routine maintenance schedule. Dust and debris can accumulate over time, affecting both the aesthetics and performance of the fixtures.
Gently clean the fixtures using a soft, dry cloth, and schedule periodic checks to ensure that all components remain in good working condition. Regular maintenance prolongs the lifespan of your advanced recessed lights, preserving their brilliance for years to come.
Illuminating Mastery in Every Detail
Mastering the installation of advanced recessed lights involves meticulous planning, attention to electrical considerations, and the incorporation of cutting-edge features. From strategic planning to precision installation, each step contributes to achieving optimal illumination and modern elegance in your space. With this comprehensive guide, you're well-equipped to embark on the journey of transforming your living environment with the brilliance of advanced recessed lights.


