Creating an effective recessed lighting layout is essential for achieving a well-lit, aesthetically pleasing space. Recessed lights, also known as can lights or downlights, are versatile and can be used for ambient, task, and accent lighting. This guide will help you understand the principles of recessed lighting layout, provide design tips for various rooms, and offer a step-by-step installation guide.

Principles of Recessed Lighting Layout
Determine the Purpose
The first step in designing your recessed lighting layout is to determine the primary purpose of the lighting in each area. There are three main types of lighting to consider:
- Ambient Lighting: Provides overall illumination for a room.
- Task Lighting: Focuses on specific areas where activities such as reading, cooking, or working take place.
- Accent Lighting: Highlights architectural features, artwork, or other focal points.
Consider Room Dimensions
Measure the dimensions of the room to calculate the number of fixtures needed. The size and height of the room will influence the placement and number of lights.
Spacing and Placement
Proper spacing is crucial for even light distribution. A general rule of thumb is to space the lights 4-6 feet apart for standard 8-foot ceilings. For higher ceilings, you may need to space the lights closer together or use higher-wattage bulbs.
Layer Your Lighting
Combine recessed lighting with other types of lighting fixtures, such as pendants, sconces, or floor lamps, to create a layered lighting effect. This approach enhances the room’s depth and functionality.
Choose the Right Trim and Bulbs
Select the appropriate trim and bulbs based on the lighting purpose and room decor. Consider adjustable trims for accent lighting and baffle trims for reducing glare.

Recessed Lighting Layout Tips for Different Rooms
Living Room
- Ambient Lighting: Use recessed lights around the perimeter to provide general illumination.
- Accent Lighting: Highlight artwork, bookshelves, or architectural features with adjustable trims.
- Task Lighting: Place recessed lights over seating areas or reading nooks.
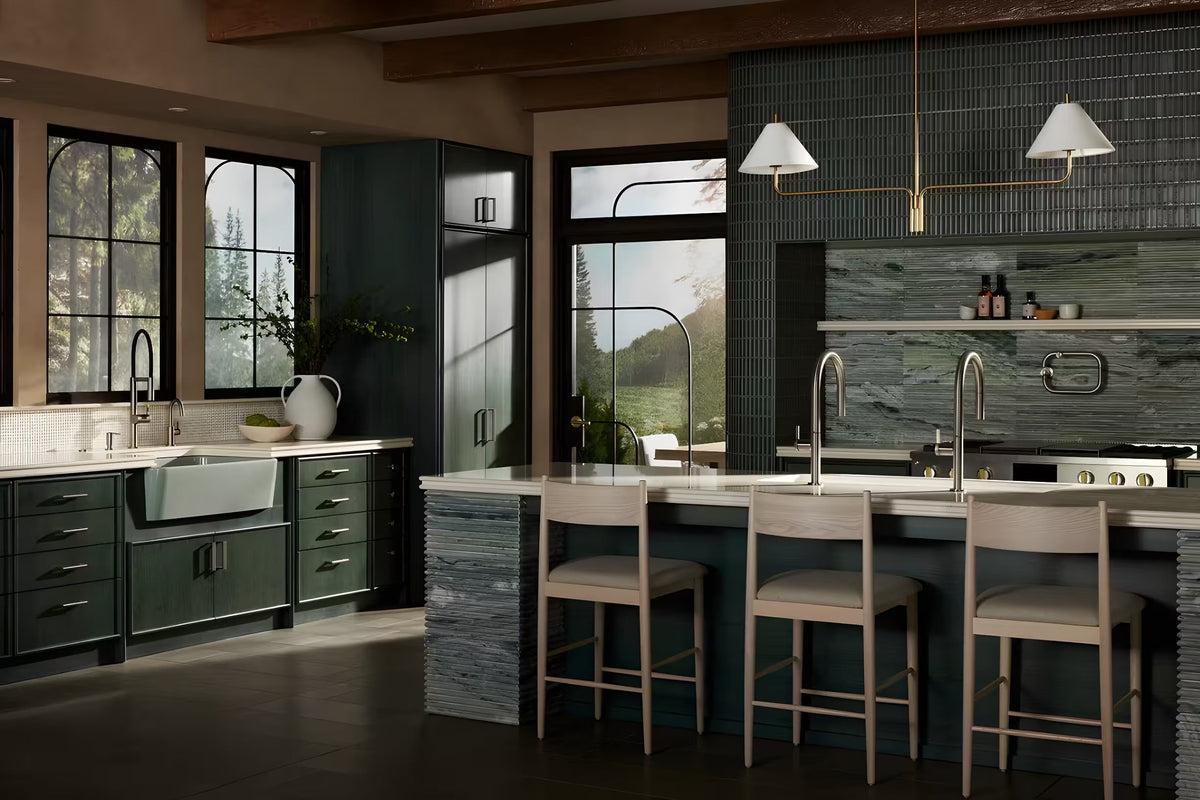
Kitchen
- Task Lighting: Install recessed lights over countertops, islands, and the sink area to ensure adequate illumination for cooking and food preparation.
- Ambient Lighting: Use a grid pattern to evenly light the entire space.
- Accent Lighting: Highlight cabinetry or open shelves with recessed lights.
Bedroom
- Ambient Lighting: Provide general lighting with recessed lights around the perimeter.
- Task Lighting: Focus on areas like reading corners or dressing tables.
- Accent Lighting: Use recessed lights to highlight artwork or decorative elements.
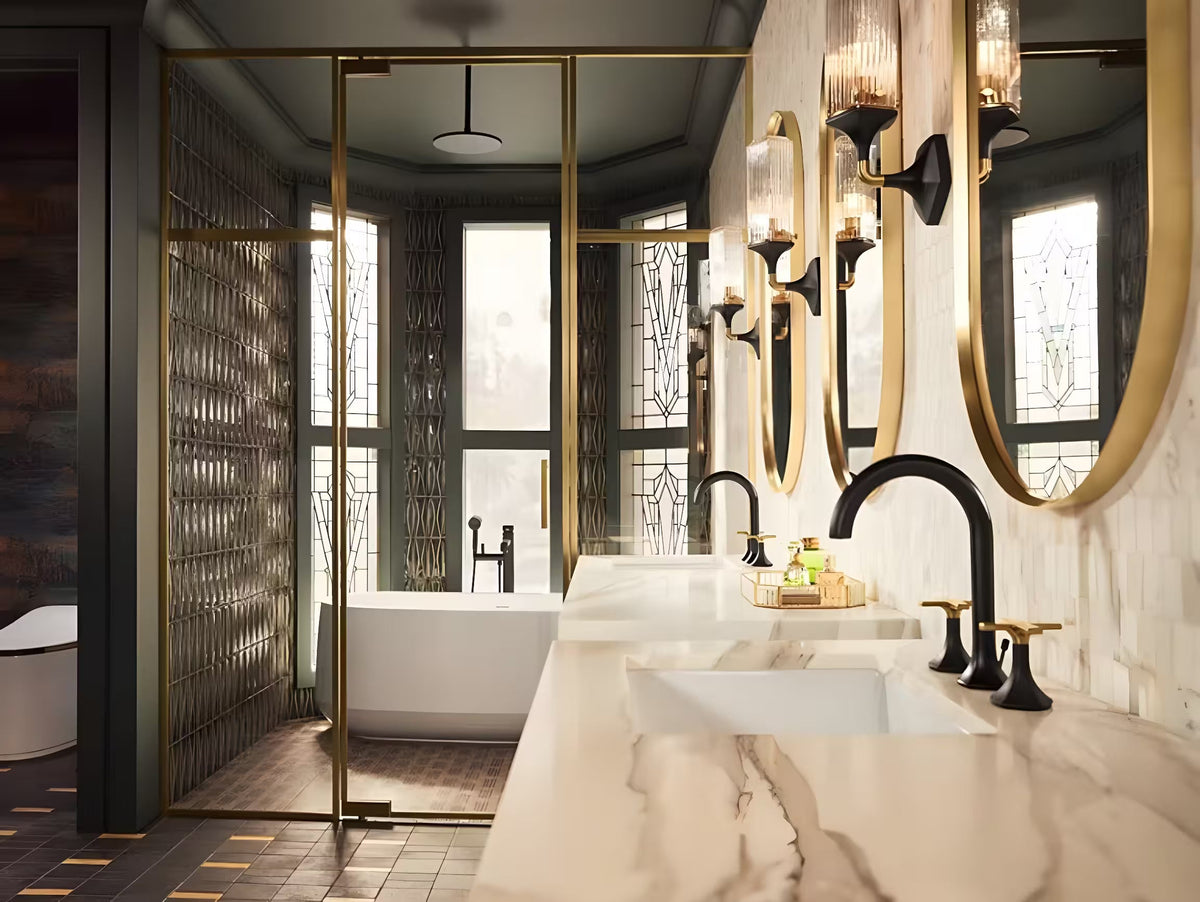
Bathroom
- Task Lighting: Place recessed lights above the vanity for bright, shadow-free illumination.
- Ambient Lighting: Use a combination of recessed lights and sconces for a well-lit space.
- Accent Lighting: Highlight features like bathtubs or shower areas with additional recessed lights.
Hallways and Corridors
- Even Distribution: Space recessed lights evenly to ensure a well-lit pathway.
- Accent Lighting: Use recessed lights to highlight artwork or architectural details along the hallway.
Outdoor Spaces
- Path Lighting: Use weather-resistant recessed lights to illuminate walkways and steps.
- Accent Lighting: Highlight landscaping features, such as trees or garden sculptures.
- Safety Lighting: Ensure entrances and exits are well-lit for safety.

Step-by-Step Installation Guide
Tools and Materials Needed
- Recessed lighting fixtures (housing, trim, and bulbs)
- Electrical wire
- Junction boxes
- Wire nuts
- Hole saw or drywall saw
- Screwdriver
- Ladder
- Voltage tester
Installation Steps
- Turn Off Power:Before starting, turn off the power to the circuit where you will install the lights at the main electrical panel.
- Mark the Layout:Plan the layout of the lights on the ceiling and mark the spots where each fixture will be installed. Ensure even spacing and proper alignment.
- Cut the Holes:Use a hole saw or drywall saw to cut holes in the ceiling at the marked locations. Make sure the holes are the correct size for the housing.
- Install the Housing:For new construction housing, attach it to the ceiling joists. For remodeled housing, insert it into the hole and secure it with clips.
- Run the Wiring:Run electrical wire from the power source to each fixture location. Connect the wires to the housing using wire nuts, ensuring all connections are secure.
- Connect to Power:Connect the wires from the housing to the main power supply. Use a voltage tester to ensure the power is off before making any connections.
- Install the Bulbs and Trim:Insert the appropriate bulbs into the housing and attach the trim. Follow the manufacturer's instructions for securing the trim.
- Turn On Power and Test:Turn the power back on at the main electrical panel and test the lights to ensure they are working correctly.

Maintenance and Care
Regular Cleaning
Clean the trim and bulbs regularly to maintain their brightness and appearance. Use a soft cloth to wipe away dust and debris.
Inspect for Damage
Periodically check the fixtures for any signs of wear or damage, such as loose connections or flickering bulbs. Replace any damaged components promptly.
Bulb Replacement
Replace bulbs as needed, ensuring you use the correct type and wattage specified by the manufacturer. Consider upgrading to LED bulbs for better energy efficiency and longer lifespan.
Adjust as Necessary
If your adjustable trims or gimbals become misaligned, adjust them to ensure the light is directed correctly. Regular adjustments can help maintain optimal lighting conditions.

Frequently Asked Questions (FAQ)
Q: How do I determine the number of recessed lights needed for a room?
A: The number of lights depends on the size of the room and the desired lighting level. A general guideline is to space the lights 4-6 feet apart for standard 8-foot ceilings.
Q: Can I install recessed lighting myself, or should I hire a professional?
A: If you have experience with electrical work and feel confident, you can install recessed lighting yourself. However, if you are unsure or uncomfortable with electrical work, it’s best to hire a licensed electrician.
Q: Are recessed lights energy-efficient?
A: Recessed lights, especially those using LED bulbs, are energy-efficient and have a long lifespan. LED bulbs consume less power and generate less heat compared to traditional bulbs.
Q: What type of trim should I use for recessed lighting?
A: The type of trim depends on the lighting purpose and room decor. Baffle trims reduce glare and are ideal for general lighting, while adjustable trims are suitable for task and accent lighting.
Q: Can recessed lighting be used in outdoor spaces?
A: Yes, weather-resistant recessed lighting fixtures are available for outdoor use. They are ideal for illuminating walkways, patios, and landscaping features.

Designing an effective recessed lighting layout is essential for creating a well-lit, functional, and aesthetically pleasing space. By understanding the principles of lighting design, planning the layout carefully, and following proper installation and maintenance practices, you can achieve optimal lighting for any room. Whether for ambient, task, or accent lighting, recessed lights offer a sleek and modern solution that enhances the beauty and functionality of both residential and commercial spaces.