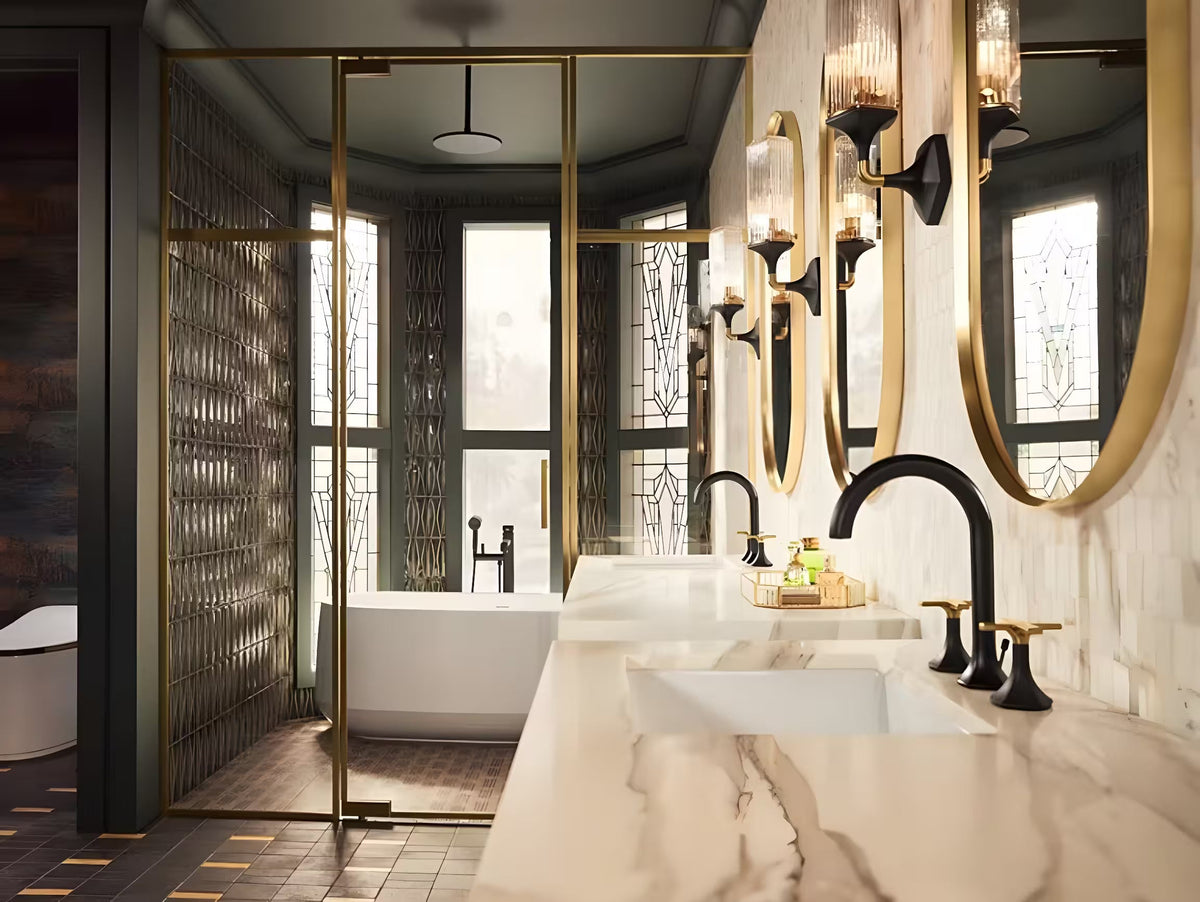
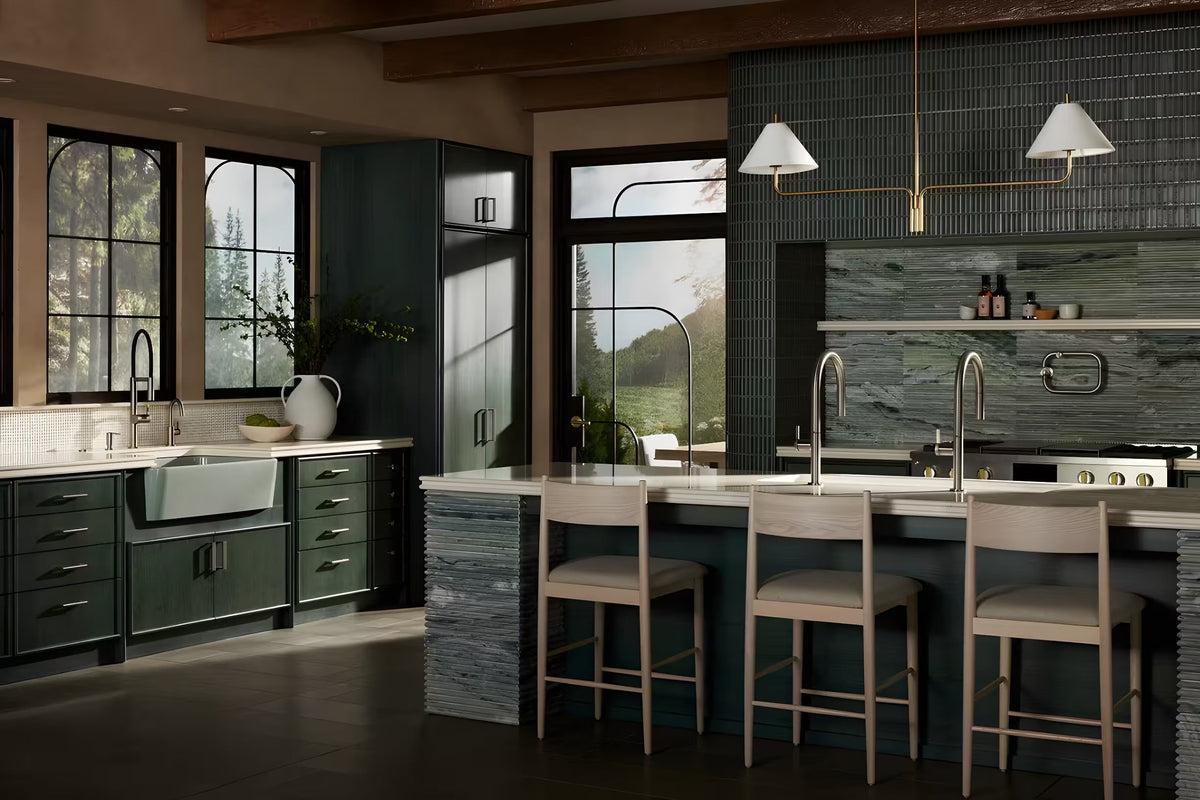
If you’re considering installing recessed lighting, you’re in the right place! This type of lighting is sleek, modern, and an excellent way to brighten up any room without taking up too much space. Whether you’re looking to add ambiance to your living room, illuminate a kitchen, or add that extra touch to your bathroom, recessed lighting can do it all. Plus, installing it yourself can be a satisfying DIY project that saves you money on professional services.In this guide, we'll walk you through the process step-by-step—ensuring that your recessed lights are installed safely and efficiently. Ready to light up your space? Let’s dive in.

What Is Recessed Lighting?
Recessed lighting, also known as “can lights” or “pot lights,” refers to fixtures that are installed into the ceiling, with only the trim or bezel visible from the room. These lights are perfect for those who want a clean, minimalistic look. They can be used for general lighting, task lighting, or accent lighting, depending on the type of bulb and placement.
Unlike traditional surface-mounted fixtures, recessed lighting is ideal for low ceilings or spaces where you don’t want the light to be too prominent. They’re subtle yet effective, providing a wide, even spread of light.

Why Choose Recessed Lighting?
Recessed lights aren’t just for looks—they’re functional too! Here are a few reasons why many homeowners and designers opt for recessed lighting:
- Space-Saving: These lights don’t take up any space in the room since they’re installed within the ceiling. Perfect for smaller rooms or tight spaces.
- Sleek Aesthetic: Their clean, minimalist design fits any style, from modern to traditional.
- Versatility: You can use them in almost any room and for any purpose—task lighting in the kitchen, accent lighting for artwork, or general lighting in living areas.
- Improved Ambiance: Since they’re often used for indirect lighting, recessed lights create a softer, more comfortable atmosphere compared to traditional ceiling fixtures.

Benefits of Installing Recessed Lighting
When done correctly, recessed lighting can completely transform your space. Here are some key benefits to consider:
- Energy Efficiency: When paired with LED bulbs, recessed lighting can provide excellent illumination while saving on energy costs.
- Minimalist Design: Recessed lighting is discrete, blending seamlessly into your ceiling and eliminating the need for bulky light fixtures.
- Task-Oriented Lighting: Perfect for kitchens, bathrooms, or reading nooks where you need focused, bright light without distractions.

Tools and Materials You’ll Need
Before diving into the installation process, make sure you’ve got all the necessary tools and materials. Here’s what you’ll need:
- Recessed light fixtures
- Pencil and measuring tape
- Hole saw or drywall cutter
- Wire stripper
- Electric drill
- Screwdriver
- Electrical tape
- Wire nuts
- Circuit tester
- Ladder or step stool

Step-by-Step Guide to Installing Recessed Lighting
Now let’s break down the installation process. It might sound intimidating at first, but with the right tools and a little patience, you can do this!
Step 1: Turn Off the Power
Before you start cutting into your ceiling or handling any electrical work, always turn off the power at the breaker box. You’ll be working with electrical wiring, so safety comes first. Use a circuit tester to double-check that the power is off before you proceed.
Step 2: Mark the Locations
The next step is to decide where you want to install your recessed lights. This is crucial because the placement will impact how much light the room gets and the overall look of the room.
- Consider the room’s layout: In general, place lights about 4–6 feet apart.
- Mark the spots: Use a pencil and tape measure to mark the location of each light. For a symmetrical, balanced look, make sure your marks are evenly spaced.
Step 3: Cut Holes for the Recessed Lights
Now that you’ve marked the spots, it’s time to cut the holes for the recessed lighting fixtures. Depending on the size of the fixtures you’ve chosen, you’ll need to cut precise holes.
- Use a hole saw or drywall cutter to create the openings.
- Make sure the holes are the correct size for your recessed housing.
- Check the clearance: Ensure there are no obstructions like pipes or wires where you’re planning to install the lights.
Step 4: Install the Wiring
Now for the electrical work! You’ll need to connect your recessed lights to the existing electrical system. If you're replacing old fixtures, this part might be easier. However, if you’re adding new lights, you’ll need to run new wires from the existing electrical box to the new fixture locations.
- Strip the wires: Use a wire stripper to expose the wire ends.
- Connect the wires: Use wire nuts to attach the new wiring to the existing circuit, following the proper color codes (black to black, white to white).
- Secure the connections: Make sure the connections are tight and insulated to prevent any loose wires.
Step 5: Install the Recessed Housing
Recessed light fixtures come with a housing that needs to be installed inside the ceiling. Follow the manufacturer’s instructions for installation, as there may be different methods depending on the type of fixture you have.
- Slide the housing into the hole and secure it in place. Some housings are spring-loaded, so they’ll automatically grip the ceiling, while others require screws.
- Ensure the housing is aligned properly and securely fastened.
Step 6: Attach the Light Bulb
With the housing installed, it’s time to attach the light bulb or LED module (depending on the type of fixture).
- Install the bulb according to the manufacturer’s guidelines.
- Ensure it’s tightly screwed in and connected properly.
Step 7: Test Your Lights
Once everything is installed, turn the power back on and test your lights. Turn the switch on and check that everything is working as expected. If any lights don’t turn on, check the connections or try a different bulb.

Common Mistakes to Avoid When Installing Recessed Lighting
While installing recessed lighting can be straightforward, there are a few common mistakes that could affect your results:
- Incorrect placement: Ensure your lights are spaced evenly and positioned to provide sufficient coverage.
- Not following safety protocols: Always turn off the power and double-check connections.
- Overloading circuits: Avoid putting too many lights on one circuit to prevent overloading.

Tips for Professional Results
Want your recessed lighting to look professionally installed? Here are some tips:
- Use dimmable LED bulbs to control the lighting atmosphere in your room.
- Install adjustable trims to direct light where you need it most.
- Plan for different zones in your space: task lighting in work areas and ambient lighting in living areas.
Installing recessed lighting can elevate your space with a modern, sleek touch while improving functionality. Whether you're brightening up a kitchen, bathroom, or living room, recessed lights offer great versatility and an attractive look. With a bit of planning, the right tools, and careful installation, you can do it yourself and enjoy the benefits for years to come.

FAQs
1. Do I need an electrician to install recessed lighting?
If you’re comfortable working with electricity, you can do it yourself. However, if you’re unsure about the wiring or electrical work, it’s best to call a professional.
2. Can recessed lighting be installed in a finished ceiling?
Yes, it can! However, it’s important to carefully plan your placement and cut precise holes to avoid damaging your ceiling.
3. What type of bulb is best for recessed lighting?
LED bulbs are the best choice for energy efficiency and longevity. They also offer a variety of color temperatures to suit different needs.
4. How much space should I leave between recessed lights?
Generally, 4–6 feet apart works well, but it depends on the size of your space and the type of lighting effect you’re aiming for.
5. Are there any safety concerns when installing recessed lighting?
Always ensure the power is off before starting, and check for any obstacles in the ceiling before cutting holes. Proper wiring is essential for safety.